Stage Pushing Builds
Max Farming Stats is list of Builds for Unnamed Space Idle that will allow you to push through different Sectors of the game and counter enemies effectively.
Since enemy composition, strengths and weaknesses are constantly shifting we will split this guide in Sections for each Sector range and which Equipment will be most effective there.
Sectors 1-3[edit | edit source]
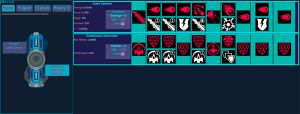
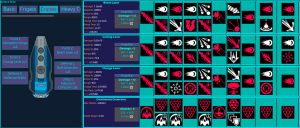
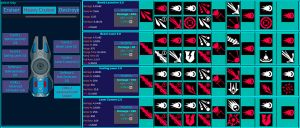
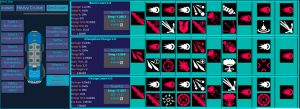
Choose the abilities marked with red circle for optimal results. You may not get all Core abilities due to speed of progression before your first Prestige. After you beat S3 you will unlock a shiny new toy and prestige for slight power spike.
Sectors 4-9[edit | edit source]
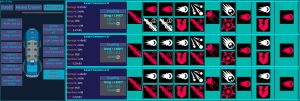
Now that you have sector 4 unlocked farm it for wave kill count. You want to kill 1000 waves (1k) you don't have to do all 1k now but the more you do the better ability 6 on weapons and shield will be. (ability name is improved tracking / ablative shielding)
Beating S5 will be time to Prestige again.
Keep going through sectors 6-9. Upon beating s9 boss we get another power spike and it's time for another Prestige.
Sectors 10-11[edit | edit source]
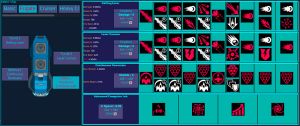
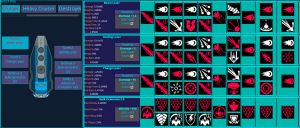
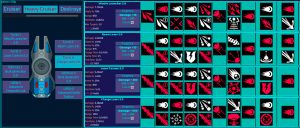
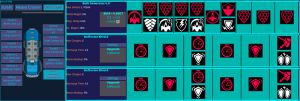
Configuration of abilities gives us the first real glance and understanding of the power of permanent uptime of Laser Boost skill. You'll see hybrid support and damage picks here because for this config your primary dps will be Gatling Laser. Charge Laser will 1 shot a lot of enemies and do heavy damage to boss before getting into gatling range.
Sectors 12-15[edit | edit source]
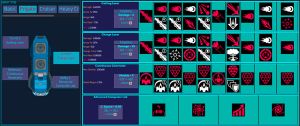
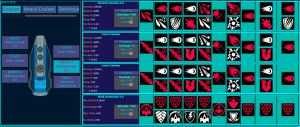
While you go through sectors 12 - 15 you can prestige a couple of times, but the next capstone equipment change will be after defeating sector 15 Boss. You might want to adapt to specific paths on A and B paths if you want.
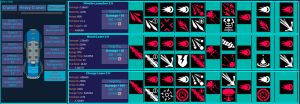
Beam Laser - for a while this will be primary Damage source for you, other weapons will just counter specific enemies or boost Beam Laser's damage.
Sectors 16-20[edit | edit source]
At this point you should start doing challenges soon and unlocking v2 Weapons and Shields. Although do not rush using v2 stuff, since it requires significantly more Salvage to upgrade and unlock the Core abilities:
- V2 shields: first upgrade tier will cost approximately ~2e11 Salvage. So if you havent gotten to or can get to e11 in reasonable time stay with V1 shield cores.
- V2 weapon cores: you only want to switch your primary damage to V2 if you can afford lvl 60 (the improved tracking ability) this is roughly ~1e16 scrap (or = lvl 183 V1 weapon). For Support weapons you want to choose the highest version core that you can afford all 10 abilities on to get their bonuses.
We are going to use the same weapons and utility Cores as before, but here we swap to a new Bulk Generator Shield.
Sectors 21-23[edit | edit source]
After beating boss of 20 you will unlock next weapon and will be facing a new enemy type from now on. There are 2 ways to progress: you can stay in your current setup and continue to farm compute power and improved tracking until you beat s23 boss, or as I recommend Prestige and utilize your new core.
From this point on, when you're introduced to a new shield or weapon it's advised to swap to it for at least a few sectors as its going to make progression far easier than trying to brute force with old technology.
Sectors 24-29[edit | edit source]
Now you have much more space to really play with layouts and this is where the game opens up.
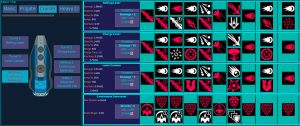
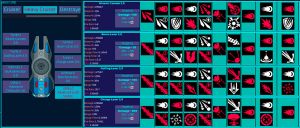
The following build is just one of the options, but it works well and recommended by multiple people in the USI community. Depending on the current progress in other areas like Synth, Challenges, Research and Warp Drive it might need to be slightly adjusted or farm some areas to catch up and balance the stats.
Keep in mind that whatever build you will go for swapping in newly acquired Core equipment helps with the progression most of the time.
Sectors 30-35[edit | edit source]
In order to counter tough ranged enemies, swap Kinetic Cannon for Bomb Launcher, and swap Charge Laser for Laser Cannon. After installing the new weapons Core Perks should be adjusted as well.
Sectors 36-40[edit | edit source]
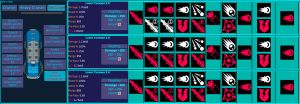
As you unlock the new ship that have more weapon Core slots you can use only 2 Laser Canons to keep up the permanent Laser Boost.
For the Shields 3x Bulk Generator shields should do the trick.
Sectors 41-47[edit | edit source]
Missile Launcher can be used to fight swarms of the enemies that you won't be able to destroy without it.
If conventional weapons can deal with enemy swarms that slot can be replaced for anything that's slowing the progress.
Sectors 48-69[edit | edit source]
Still same ship build, but swap from 3x Bulk Generator Shields to 1 bulk and 2x Deflector Shields to counter the enemies who oneshot you.
Once Disruptors are unlocked, they can be placed on the Missile slot to counter phasing out enemies.
In order to fight enemies with higher Phase Jump Power one of the Laser Cannons can be replaced with additional Disruptor. In Extreme Cases setup can include 1 Beam Laser, 2 Laser Cannons and 3 Disruptors.
At this point you should be aiming to get v3 and v4 Core upgrades. Just make sure that you have enough Salvage to properly upgrade it to the required milestones.
Around Sector 65 its possible to go full v4 equipment, but it will vary vastly depending on the upgrade options picked by the players.
Sectors 70-74 Barrier Crasher[edit | edit source]
Starting Sector 70 you will start getting enemies with Barriers. Barriers have charges like our Deflector Shields and damage is calculated with the following formula: damage/1000 and -1 barrier charge on hit. Moreover, weapons that do tick damage like Beam and Disruptor cannot directly damage the Barrier. So, our goal is to do as many attacks on the enemies as possible, for that we will switch to a new build that will help with that.
Also, you will unlock Tasks, they will require some dedication and strategy, if you need help with that - check out Tasks Guide
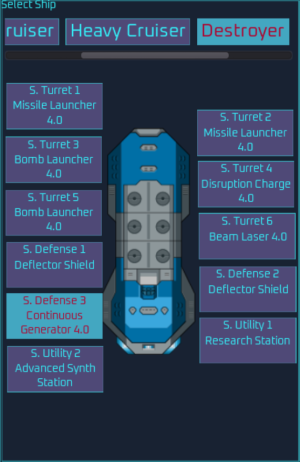
We will use Missile and Bomb Launchers for that and add Disruption Charge a Beam Laser to the mix.
Make sure to adjust Weapon firing priorities to make it more efficient at taking out those pesky Barrier Carriers and go through Stages faster.


