Unnamed Space Idle Ship Configuration Guide
This guide will help players through ship configurations for the various sectors. It is split into multiple sections covering several sectors each in order to effectively counter various enemy combinations.
Sectors 1-3[edit source]
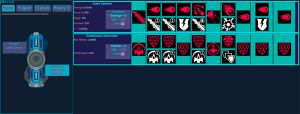
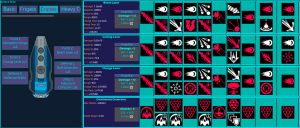
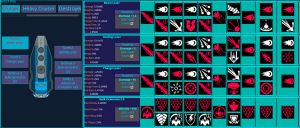
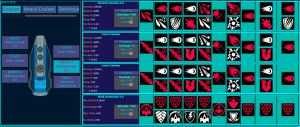
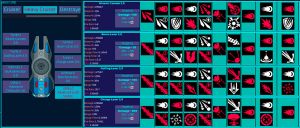
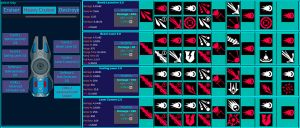
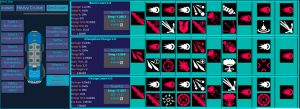
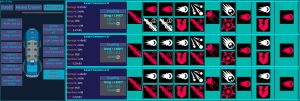
Choose the highlighted nodes in red for optimal results. You may not get all abilities due to progression speed before your first Prestige. After beating sector 3, a shiny new toy will be unlocked and a prestige is in order.
Sectors 4-9[edit source]
Now that sector 4 is unlocked, farm it to push up your cleared wave count for Improved Tracking and Ablative Shielding (the 6th node on weapons and shields), which grants a +0.1% damage/shield boost for every wave cleared up to 1000, and falls to +0.01% after that.
It's not necessary to farm all 1000 waves at once, but spending around 30 minutes farming kills in a sector can provide the needed power to kill a boss and speed up the process of pushing sectors.
Sectors 6-9[edit source]
After beating sector 5 it's time to prestige again in order to equip the newly unlocked cores.
Sector 10-11[edit source]
Upon beating sector 9, it's time for another prestige and another power spike.
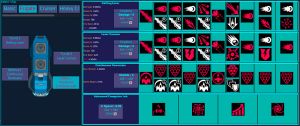
Now we get the first real glance and understanding of the power of having the Laser Boost skill permanently up and running. The primary damage dealer of this setup will be the Gatling Laser, which is why you'll see a lot of support options being picked. Additionally, Charge Laser will one-shot a lot of enemies and do heavy damage to bosses before getting into gatling range.
From here on out, it's recommended to run the Laser Boost Automator Synth Module when not fighting a boss.
Sector 12-15[edit source]
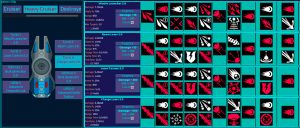
While going through these sectory, you can prestige a couple of times, but the next major equipment change will happen after defeating the boss of sector 15. You might want to adapt the setup to the different paths (A, B, C), if needed.
Your primary source of damage here will be Beam laser, other weapons will mainly just counter specific Enemies or boost the Beam Lasers range.
Sector 16-20[edit source]
At this point you should start doing Challenges soon, and unlock the 2.0 versions of weapons and shields from your base. It's worth noting, though, that 2.0 cores won't be of much use right away, due to a significantly higher Salvage cost:
- 2.0 weapons: you only want to switch your primary damage to 1.0 if you can afford level 60 (the Improved Tracking ability). This costs roughly 1e16 scrap (or around level 183 on 1.0 weapon). For support weapons you want to choose the highest version can afford all 110 levels on.
- 2.0 shields: The first node will cost approximately 2e11 Salvage, and it's only worth switching once this can be afforded with relative ease.
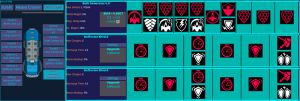
We are going to use the same weapons and utility Cores as before, but here we swap to a new Bulk Generator shield.
Sector 21-23[edit source]
After beating sector 20 you will unlock the next weapon, and a new type of enemy will appear: Armored enemies. There are 2 ways to progress:
- You can stay on your current setup and continue to farm compute power and Improved Tracking until you can beat sector 23.
- You can prestige and utilize your new core (this is recommended and what the guide will focus on).
From this point on, when you're introduced to a new shield or weapon it's advised to swap to it for at least a few sectors as its going to make progression far easier than trying to brute force with old technology.
Sector 24-29[edit source]
Now you have much more space to really play with layouts, and this is where the game opens up.
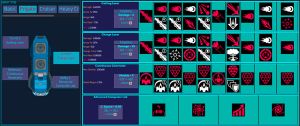
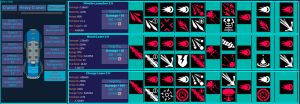
The following build is just one of the options, but it works well and is recommended by multiple people in the community. Depending on current progress in other areas like Synth, Challenges, Research, and Warp Drive, some small adjustments or a bit of farming might be needed in order to catch up and balance the stats. Regardless of your current stats, 100% uptime on Laser Boost is a surefire way to massively increase your damage output.
Sector 30-35[edit source]
In order to counter tough ranged enemies, swap Kinetic Cannon for Bomb Launcher, and swap Charge Laser for Laser Cannon. After equipping them, the selected nodes should be adjusted as well.
Sector 36-40[edit source]
Nothing special of note here, except swapping back some equipment again.
Sector 41-44[edit source]
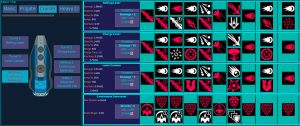
With the newly unlocked ship you have 2 more weapon slots, meaning from now on you can use 2 Laser Cannons to permanently keep your Laser Boost running, without having to weaken any of your main equipment for support.
Missile Launcher can be used to fight swarms of enemies that you won't be able to destroy otherwise. If conventional weapons can deal with these, you can replace that slot for anything else.
Sector 44-68[edit source]
Still the same ship build, but with 2 of the Bulk Generator shields swapped to Deflectors to counter the enemies with massive weapons.
Once Disruptors are unlocked, they can be placed on the Missile slot to counter phasing enemies. In order to fight enemies with higher Phase Jump Power (e.g. Bosses with a phase jump power of 48) one of the Laser Cannons can be replaced with an additional Disruptor. In extreme cases a setup could include 1 Beam Laser, 2 Laser Cannons and 3 Disruptors, though that should not be necessary.
At this point you should be aiming to get 3.0 and 4.0 Core upgrades. Just make sure that you have enough Salvage to properly upgrade it to the required milestones.
Around sector 65 it should be possible to go full 4.0 equipment, but it will vary vastly depending on upgrades picked by the player.
Sector 69-74[edit source]
Starting Sector 69 you will start getting enemies with Barriers. Barriers have charges like our Deflector Shields, and each hit will drain one charge. As long as the barrier is up, any damage will be reduced to 0.001% (i.e. divided by 1000). Additionally, weapons that do tick damage like the Beam Laser and Disruption Charge cannot directly damage the barrier. So, our goal is to get in as many hits as possible, and for that we will switch to a new build that will help us out.
Additionally, you will unlock the Task List in this section. The tasks will require some dedication and strategy, if you need help with that - check out Tasks and how to beat them.
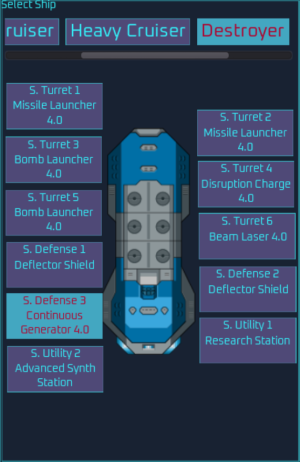
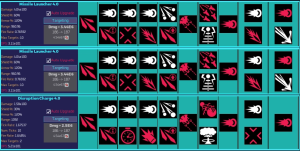
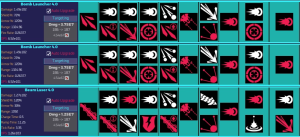
We will use Missile and Bomb Launchers, and add a Disruption Charge and a Beam Laser to the mix.
Sector 70[edit source]
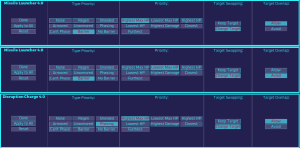
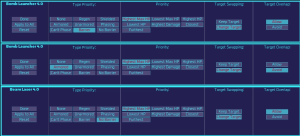
For Sector 70 in particular, the targeting settings for the Missile Launchers should look like this:
Sector 75+[edit source]
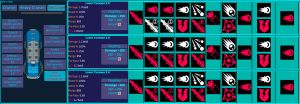
From this point onwards, you'll rarely have to change your loadout anymore. The general meta from this point onwards is 6 Charge Lasers/1 Disruption Charge + 5 Charge Lasers. The nodes and targeting settings should be the same on all Charge Lasers, and if you have a Disruption Charge it should be set to phasing/closest/change/allow with the only upgrade node that matters being "Target Splitting".
This setup has extreme range, great firerate, and good damage. It's just a bit overtuned, and the range does a lot more than you initially think.
| Unnamed Space Idle Wiki | |
|---|---|
| Systems | Core • Compute • Synth • V-Device • Prestige • Reactor • Research • Bases • Challenges • Warp Drive • Crew • Reinforce • Fleet |
| General | Resources • AI • Enemies • Secret Codes |
| Progression | Achievements • Unlocks • Offline Progress |
| Gameplay | Standard • Capital • Fleet |
| Events | Spacemas • Spaceversary |
| Guides | All Guides • Ship Configuration • Core Computing • Synth Purity • Power Hungry • Base Carry • Galaxies |
| Internal | Icons |

